Thursday, May 29, 2014

Tutorial: Modern Subway Tile Quilt


Here's the thing about me and quilting.  I don't really know the official names of blocks (aside from Churn Dash, Log Cabin and Virginia Star) and I don't ever follow a pattern. I'll figure out the names eventually, but I'll probably never follow a pattern because I just really enjoy sitting down with pencil in hand and a fresh sheet of graph paper.  Call me a glutton for punishment, I mean I'm terrible at math.  Absolutely hopeless.  I have no business attempting it without a calculator.  Terrible.

Yet, somehow I've been successful with every attempt, so that's good.  

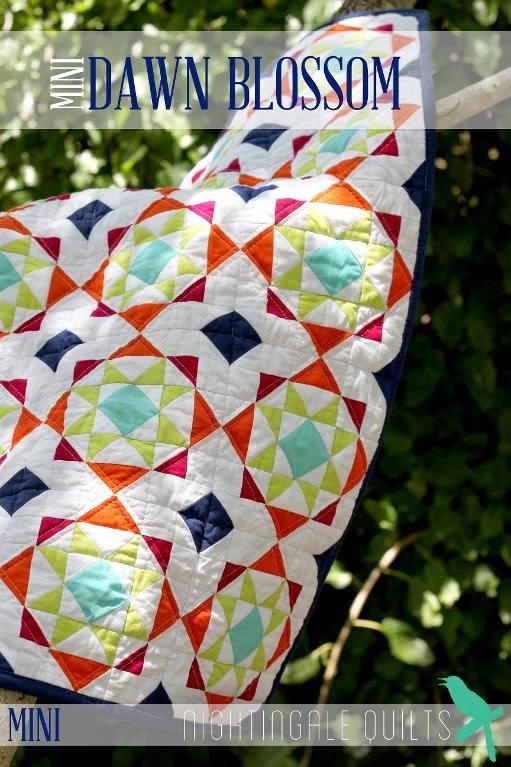
Today, I'm bringing you a tutorial for a quilt that I've decided to call "Modern Subway Tiles" because to me that's exactly what it looks like. 

Blend Fabrics sent "Maisie" by Maude Asbury to me and I couldn't wait to make something with it.  At first I thought I'd make a shower curtain, but then after I started putting it together, my little girl asked if it was going to be a quilt for her.  How could I resist?


For this quilt top, you will need 13 different fabrics, approximately 1/2 yard of each.
 You will be creating rows with 9 tiles, so will need to keep track of the fabrics you are using for a successful pattern repeat of 18 rows.  Arrange your fabric however you like, 
but then label them #'s 1-13.


Cut three 8 1/2"x WOF strips from each fabric.

Follow the chart below to cut 4 1/2"x 8 1/2" Full Tiles (F)
or 4 3/4"x 4 1/2" Half Tiles (H) of the following:
(F= 4 1/2"X8 1/2" H= 4 3/4"X 4 1/2")
Fabric 1: 13/F     1/H
Fabric 2: 12/F     2/H
Fabric 3: 11/F     2/H
Fabric 4: 12/F     1/H
Fabric 5: 12/F   1/H  
Fabric 6: 11/F     2/H
Fabric 7: 12/F     1/H
Fabric 8: 12/F     1/H
Fabric 9: 11/F     2/H
Fabric 10: 11/F   2/H
Fabric 11: 12/F   1/H
Fabric 12: 12/F   1/H
Fabric 13: 12/F   1/H

tiles laid in coordination to keep organized. full tiles below, half tiles above

Now, I hope this doesn't get confusing.  If you labeled everything, it should be fairly easy to follow.  Since I am not very good with computers, I have no idea how to make a grid for you to follow.  
So, instead, I am going to break it down for you row by row.  Ready?  Here we go:

**Remember, "H" means "Half Tile".  Assume all tiles are full if there is no "H"**

Row One
1, 2, 3, 4, 5, 6, 7, 8, 9
Row Two
10H, 11, 12, 13, 1, 2, 3, 4, 5, 6H
Row Three
7, 8, 9, 10, 11, 12, 13, 1, 2
Row Four
3H, 4, 5, 6, 7, 8, 9, 10, 11, 12H
Row Five
13, 1, 2, 3, 4, 5, 6, 7, 8
Row Six
9H, 10, 11, 12, 13, 1, 2, 3, 4, 5H
Row Seven
 6, 7, 8, 9, 10, 11, 12, 13, 1
Row Eight
2H, 3, 4, 5, 6, 7, 8, 9, 10, 11H
Row Nine
12, 13, 1, 2, 3, 4, 5, 6, 7
Row Ten
8H, 9, 10, 11, 12, 13, 1, 2, 3, 4H
Row Eleven
5, 6, 7, 8, 9, 10, 11, 12, 13
Row Twelve
1H, 2, 3, 4, 5, 6, 7, 8, 9, 10H
Row Thirteen
11, 12, 13, 1, 2, 3, 4, 5, 6
Row Fourteen
7H, 8, 9, 10, 11, 12, 13, 1, 2, 3H
Row Fifteen
4, 5, 6, 7, 8, 9, 10, 11, 12
Row Sixteen
13H, 1, 2, 3, 4, 5, 6, 7, 8, 9H
Row Seventeen
10, 11, 12, 13, 1, 2, 3, 4, 5
Row Eighteen
6H, 7, 8, 9, 10, 11, 12, 13, 1, 2

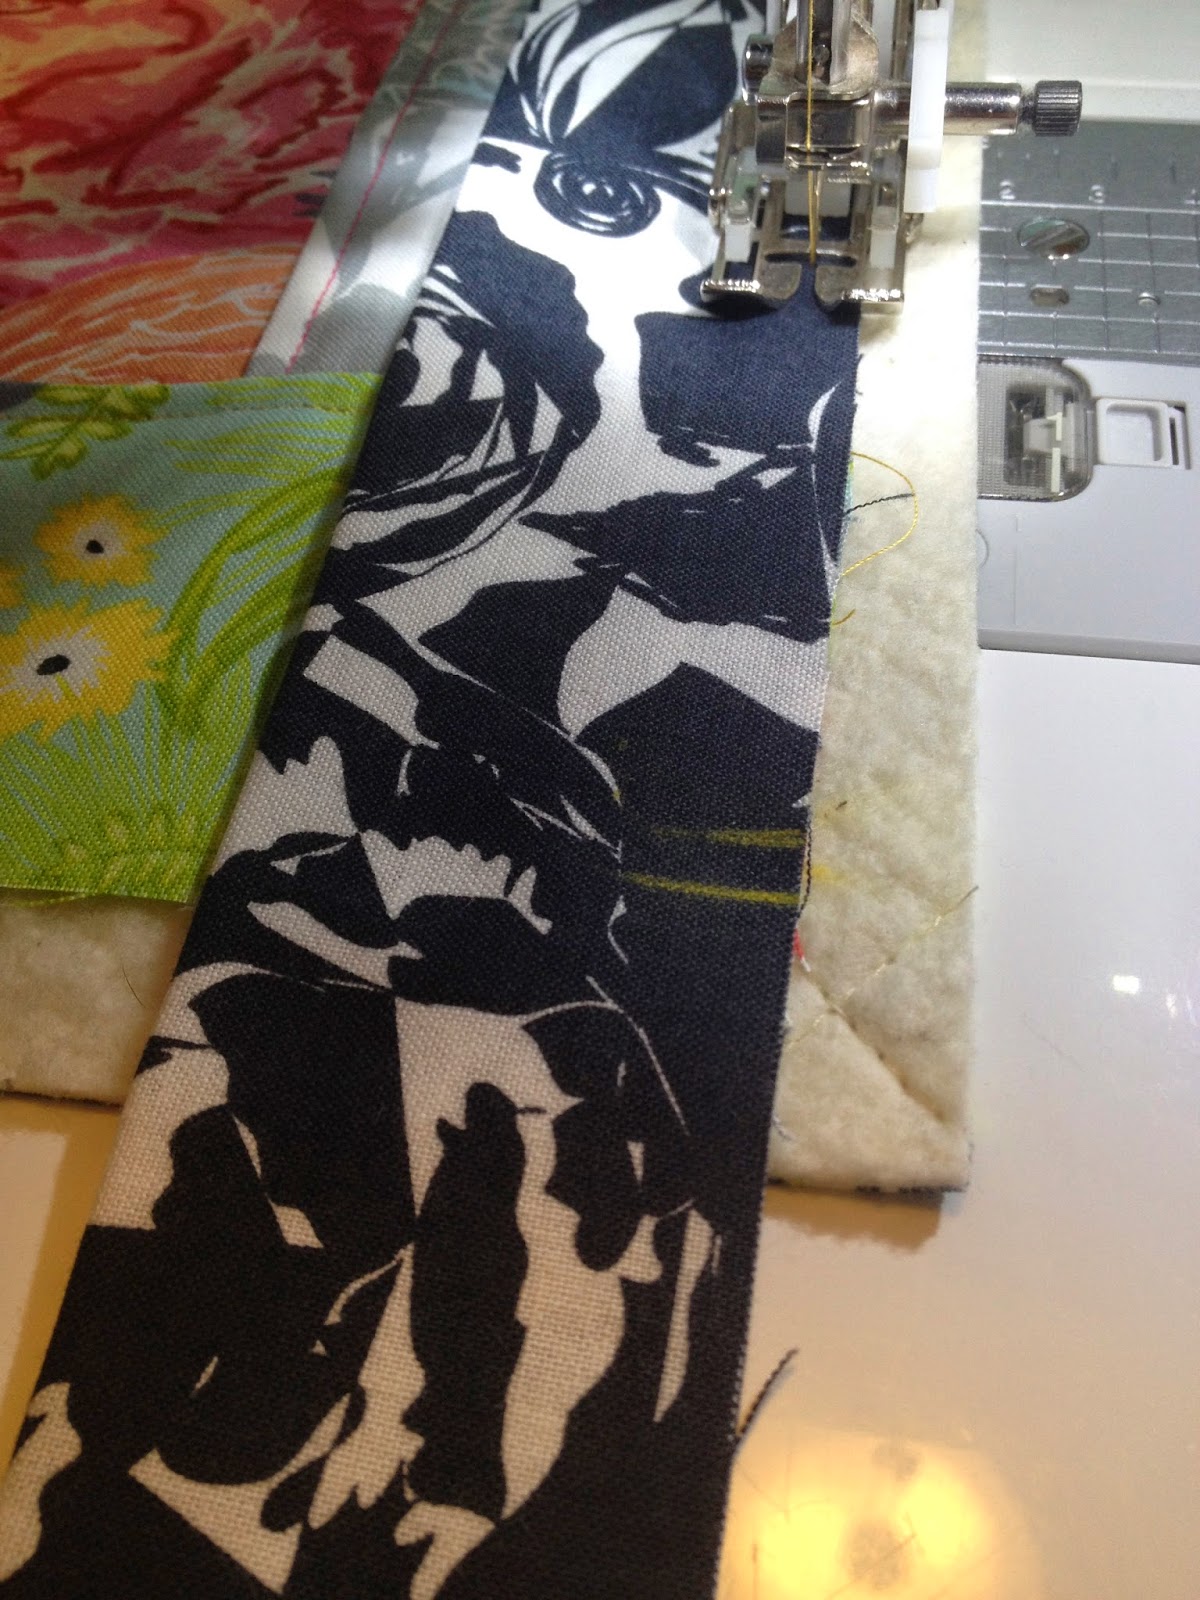
Stitch each tile into rows, then label the row (1-18) on the left side when you are finished.


As you finish rows, lay them out on your design wall (or design floor, as the case may be) in numerical order.

 Of course, you'll want to watch out for any "helpers" that may be sewing with you...
(thank goodness you numbered those rows, huh?)

Stitch rows together, one by one.  Before you know it, you'll be finished!  And then you'll be running around trying to capture the ever-elusive perfect shot of your new quilt top!

attempt for the perfect shot, number one.  someone said it looked like it had nipples. oy.
attempt number two.  hey bushes! down in front, geez!
attempt number three.  good enough, i guess.

I hope that wasn't awfully confusing.  Remember, add your projects to the schnitzel & boo Flickr group when you finish them!  I'd love to see what you make from my tutorials.

Happy Quilting!
-Kristi-


Giveaway!

Remember when I blogged about Deborah Fisher's fantastic new book 


Well, today I'm back with more from Deborah because she has come up with a sweet little giveaway for one of you.  


To help promote her book, she has generously offered a Little Smiles Bunny Pack-All the fabric and trim you need to make at least 5 Little Smiles Bunnies!


I have to be honest, I kinda want to win this myself, but since that's (sadly) not an option, I'll just let one of you win.  How's that?  It's a good plan!


So, what do you have to do to win?  Follow the instructions below:

a Rafflecopter giveaway

Sunday, May 18, 2014

Mini Quilt Swap Is Under Way!


Partner information has been sent!
Actually, it's been sent twice (and in a few cases, so far, it's been sent three times...I still have to figure that mess out!) There has been a mass of questions and concerns already, so that's what this blog post will be about.  Make sure to pin it so you don't have to come back and search through my posts to find it.  Ready to clear some things up?  Here we go:

1. My Partner is "Private" on Instagram!
The thing is, they are a part of the swap and are probably now fully aware that they'll be getting a ton of friend requests starting today. You won't be the only one to send a request, so this shouldn't send the "HEY LOOK IT'S ME YOUR PARTNER!" message.  Go ahead and send him or her a request :)

2. That's great, but still...
If you aren't getting enough clues from their various social media outlets, please send YOUR MOD (not me, unless I am your Mod) an email or Instagram direct message to see if they can go sleuthing for you.  We want this to be fun for you!  I know it's not as much fun when your person isn't anywhere to be seen.  We'll figure it out together, ok?

3. Help!  I was assigned myself!
People who checked the box indicating that they did not want to ship outside their own country received at least two partner info emails: one that assigned themselves as their partner and the second with the correct information.  I have received a note from about four other people that said they even got a third email with different info.  If you also received a third message PLEASE CONTACT ME!  It is an easy fix, but in order for everyone to receive a Mini, I need to make sure that all of the information out there is correct.

4. Is this a secret swap?
YES!  DO NOT TELL YOUR PERSON THAT YOU'RE THEIR PARTNER! This is a secret swap, that's what makes it so much fun to be a part of!  That's half the reason that non-participants want to be a part of it.  We have so much fun stalking and watching and showing off our sneak peeks.  We love pouring over the hashtags, coveting all the lovely Mini's. 

5. So then does the person I get have me back as a partner?
No.  Chances are, whoever you are creating for is NOT who is creating for you.

6. Do I HAVE to post my pictures and use that silly hashtag?
Well, no, you don't but that is 3/4 of the fun of this particular swap.  We have almost two months to create the best thing ever for our person.  Participants and non-participants alike flock to those two hashtags.  Use 'em!  Show off your work!

7.  I can just email you if I need something, right?
Uh, well...as much as I'd love to be there for all of you, 600 people is a heck of a lot.  At the bottom of your swap info email is the name of your moderator.  This is the person that will help you out if you need it, hound you if you're lacking in posts and hunt you down if you fail to send.  Well, ok they won't hunt you down, but they will assign an Angel to your person so please be sure to communicate your needs!  I cannot stress that enough! You may contact your Mod via direct message on IG or via email.  I suggest the DM first and then email.

*****

If I haven't answered your questions, please leave a comment here so I can address it in a new blog post. There will be other kinks to work out, so please be sure to talk to your Mods, join the Flickr group-we always have a discussion or twelve going on, or use one of the hashtags on IG to address your fellow swappers.

Thank you everyone for all of your support, thanks and kind words.  This is, indeed, an awful lot of work but nothing that can't be handled.  Especially without the help of Theresa!  Say hello and thanks to @theresachilds on IG when you get a chance!  And all of our Mods too: Becky, Katherine, Karri, Trashalou, Megan, Jennifer, and of course, our floater Mod aka "The Turd" Andrea.  I'm just teasing her.  She loves it.  ;)

Keep your eyes peeled for a cool new blog post with all the fancy stats about this second round! Click here for the beginning stats of the first round.

Happy Stalking!
-Kristi-

PS If you haven't already done so, please follow me here on the blog.  I would love that.  You will love that.  I have cool stuff planned, plus I've been writing tutorials for Anna Griffin and will be hosting some giveaways and such.  Thanks!

Saturday, May 17, 2014

Catching Up On Bee Blocks

Recently I've been trying to play catch up on all the things on my never-ending to-do list. (Which is probably why I've been a blog posting fool lately, right?)  At the top of my list is was catching up on my Bee Blocks.  I belong to three Bees, but only had time for two of them today.


One of the blocks I made today was for Becky aka "Sarcastic Quilter" for our Stitch That Stash Bee.  She requested an improv herringbone quilt block.  The tutorial can be found here:


This picture has true daylight color, so much prettier than the way it looks below.

the finished block, in poor lighting.  

This is my second year in Stitch That Stash.  Our roster includes some returns from last year and a few new faces.  Meet our crew:
Krista of Krista Stitched
Mary of Fairly Merry
Monique of Sew Fun by Monique
Betty of Sew Betty Jane

*****************


A few days ago I finished Cat's house block for the Wee Bee.  I love how this one turned out, I decided to add lots of little personal touches to the block to make it represent me. Her block request was simple: it could be paper pieced, appliqued, patchwork etc.  
Anything as long as we could personalize it:


I added in the two dachshunds, naturally, one for Fenway Frank and one for Schnitzel McPoo:


Of course, the hula hooping redhead could represent either me or Roo, so she had to be on it, too.  Then there's the flower and the guitar (I'm a sucker for country music and I LOVE flowers):


Yep, I'm pretty happy with the way this one turned out.


You can follow this group and Bee-along with us if you like, we have a pretty awesome roster:
Cat of Cat & Vee
Kristy of Quiet Play
Elizabeth of Don't Call Me Betsy

We have a little ol' Flickr group that you can join.  We're a busy bunch of bees, so we don't always have a lot to say.  But, we'd love to share our blocks with you!

*************


I also whipped up two Churn Dash blocks for a friend of a friend who had the most awful thing happen to her.  I'm not sure I'm allowed to say what, but know that when the call for love and support went out, we all accepted.  I love being a part of a comfort quilt, and this time was no exception:


************

Lastly, I wanted to show off a gift that one of my very best friends made just for me.  He's the most talented woodworker and he put together a quilt crate for me.  Originally I was going to use it to hold all of my fat quarter's, but then I decided that I would use it for my finished blocks (all of the above, for example) and my Quilt-Tops-In-Waiting:

 I'm thinking he'd be happy to make one for you too, all you have to do is ask!

Happy Quilting!
-Kristi-

Modern Medallion Quilt-Along

Some more exciting news!
It seems like every time I turn around, I'm being asked to be a part of something really cool!  This last week, Crystal from Two Little Aussie Birds has asked me to be a part of a blog hop/quilt-along for her brand new pattern "Modern Medallion".

The cool part is that I (ME!  MEEEEE!!!  YAY!) get to kick the whole thing off on June 1 with the center medallion.  I am SO EXCITED.  Seriously.  I keep running back to my fabric closet to see what I have, as if it's going to change every five minutes, ha ha.  Looks like I have an excuse to buy some new fabric!  WOOHOO!

Modern Medallion by Two Little Aussie Birds


I hope you'll join us, we have a great line up of bloggers/quilter's to help with the creative process of the quilt-along.  You can purchase the pattern by clicking here.  If you can, buy it today so you have enough time to do your prep work.  We start on June 1, and there will be prizes and giveaways!

Schedule:
06/01 - Week one – Medallion - schnitzel & boo
06/08 - Week two – Border one and two – MsMidge
06/15 - Week three – Border three – KateQuilts
06/22 - Week four – Border four and five – Little Mushroom Cap
06/29 - Week five – Border six and seven – Gnome Angel
07/06 - Week six – Finished quilts (with quilting if done) – Two Little Aussie Birds


See?  I told you that was exciting!

Happy Quilting!
-Kristi-

Friday, May 16, 2014

Pattern Review: the Zsalya Top

the Zsalya top (left) and dress (right) by Kate N Rose on Etsy


This pattern testing thing...I LOVE IT.  I recently made the Zsalya Top by Kate and Rose Patterns.  When we had originally been asked to test, I had all kinds of time at my disposal.  But, you know how life goes, there were some understandable and unavoidable set-backs so we didn't get the pattern until a couple weeks later.  By that time, of course (it's just the way it goes) I was up to my ears in other deadlines and projects.  But, I went out and bought some fabric anyway.  I wanted to make sure I had everything I needed to make the blouse when I had enough time in between projects.  I left my little stack on my sewing table where I could see it every day, where it would just sit there and say, "Hello!  I'm here!  Make me into something fabulous!" I admit, it sat there a few weeks taunting me until one evening I sat down to work on it and realized that I didn't have any black thread.  Oh sure, there was two spools of yellow, one grey, two pinks, one aqua and four different shades of white but no black.  So, back to the Other To-Do List I went, and my little top-to-be continued to sit and wait.

Simple Luxuries- Mesh Dot Black Nylon Spandex on JoAnn.com

Slowly but surely, my list began to shorten, I remembered the spool of black thread the next time I was at the store and that evening, I found myself with a free evening and an empty sewing machine.  

(I won't mention that I ran out of scotch tape while putting the PDF together, and I won't tell you how the roll of packing tape sort of came to my rescue.  I say "sort of" because have you ever ripped a piece of packing tape from the roll in a mostly empty apartment with a sleeping 5 year old?  The sound really ricochets off the hardwood floors and empty walls.) 

Seriously, though, at this point nothing was going to stop me from sewing that top!  It was easy as pie to put together-possibly even easier, I mean have you ever made a pie??  I'd rather sew a blouse any day.  Anyway, one of the things I loved the most about working with this pattern was how easy the instructions were to read.  The diagrams were clear (and cute!) and not complicated to look at.  Sometimes a pattern gives you too much information in a diagram and it's hard to know what you're supposed to be doing.  Not the case here.  Plus, the instructions were so personable and friendly, reading through them was almost like having a friend sewing along with me, I loved that!

I didn't have any trouble putting the top together, and I even used a crazy fabric.  I LOVE how the top came out, and I love the way it fits.  What do you think?

I hate having my picture taken like this, ha ha.

Just a little pattern size FYI, I cut out the medium.  I wear a street size 8 in jeans, but a large or extra large in shirts and blouses due to my 36DDD bust size (thank you pregnancy for enhancing what I already had and post pregnancy for not giving up on it... O_o)  I am happy with the way this top fits me and would sew the Medium again from another fabric with stretch.  I have an Anna Maria Horner voile to use next, but in that case I think I will cut the large.

You can buy the Zsalya Top pattern by clicking here.

Happy sewing!
Kristi

Thursday, May 08, 2014

Pattern Review: Dawn Blossom Mini by Nightingale Quilts

Last month I had the lovely honor of being asked to test a new quilt pattern, the Dawn Blossom Mini, by my friend Caroline Greco of Nightingale Quilts.  
Despite my insanely busy schedule, I said yes.  I couldn't help myself!


I LOVE a good star block, and I love even more an unexpected secondary pattern in a quilt design.  This is one of those patterns.  So, one day when I had a little break in the sewing action, I pulled together some fabric and sat down to work.


Now, having just made a huge move from Seattle to Atlanta only a few months before, I didn't have a whole lot of fabric to choose from.  (Sadly, most of my stash is still in our storage unit in Seattle.) I was pretty happy that this pattern only asked for a background plus five other fabrics.  
That was definitely doable.

The Dawn Blossom pattern is made up of sqaures, rectangles, half-square triangles and flying geese.  The instructions were very easy to understand, were clearly illustrated and not at all confusing. (Which is good because I am, technically, still fairly new to quilting.)

Teeny tiny HST!

Super duper, itty-bitty, teeny tiny HST.
Don't worry, that last HST is just a trimming, but isn't it cute??

There was a lot of cutting and sewing, but that's my favorite part.  I love to get lost in the creation process, it's where I do my best thinking.  I forgot to take a picture of the final layout before I stitched it all together, but here is the end result.  

let's all ignore that one little pink HST stuck out there and waving hello.  he's obnoxious...

I have already put the queen sized Dawn Blossom quilt on my Wish List.  I will make it. I love this pattern so much.  Caroline has several beautiful and unique designs to offer.  I really love her modern-traditional hodgepodge style.  Plus, she's pretty dang funny.  

You can find her on Instagram, Craftsy and on Bloglovin.

Wednesday, May 07, 2014

Tutorial: Chalkboard Mini Quilt

It's no secret that I LOVE mini quilts, is it?  My collection is growing, my walls are shrinking and my heart is happier.  When I look around the walls of my sewing room, I see my friends.  I think that's what I love the most about mini quilts.  They're fast, fun and so darn satisfying to make.  I mean hey-you can say you completed an entire quilt in a day!


My second project as a tutorialist for Anna Griffin is for a Chalkboard Mini Quilt.  I think it is super adorable, and I'm pretty sure you will too.  If you're not sure where to buy chalkcloth, check out Laminates and Fabric Shoppe, both on Etsy. 

For this tutorial, I used Modern Eclectic by Khristian Howell.  You can view the entire collection here.


You will need:
*One Fat Quarter of Chalkcloth cut down to 12 3/4"x15 3/4"
*Two squares each of seven different fabrics cut into 2 3/4" squares
(or fourteen 2 3/4" squares)
*One Fat Quarter of an accent fabric cut into two 2 3/4"x22" strips and an applique motif
*One Fat Quarter cut into Four 3 1/2" strips for non-continuous binding
1/2 yard of backing fabric
*scrap of Warm 'N Natural batting measuring approximately 25"x25"
*thread
*rotary cutter/mat/acrylic ruler

**seam allowance is 1/4" unless otherwise noted**


Let's do this:

If you'd like to add an applique to your chalkboard, find a motif in your accent fabric that you like and cut around it, leaving approximately 1/4" all the way around it.  My floral motif was on the corner of my fabric, so I decided to put it in the corner of the chalkboard, and trimmed my edges nice and square to fit.  Decide where you want your applique to be based on the size and location of your motif on the fabric.

Carefully pin the applique to the chalkcloth, you don't want pinholes to be seen on your finished project, so make sure the pins are on the inside edge of the applique.

Edge-stitch around the applique:

I like to go around a few times to give it a more decorative look.

Cut your fabrics into 2 3/4" squares, if you haven't already done so.

Arrange the squares into rows (keep in mind that they will be attached to the sides of the chalkboard).  Stack them into two rows, and stitch. Press your seams to the sides (or use whichever method you prefer.  I like the one described here where you press towards every other square/strip.)

With right sides together, lay one strip on one side of the chalkcloth
 and stitch; repeat for the other side/strip.

Trim off any excess chalkcloth, if there is any.
 
Finger press the seams out.  
(Chalkcloth cannot be ironed)

Doesn't that look nice so far?

With right sides together, stitch the 2 3/4" accent strip to the top edge of the chalkboard; 
repeat for second strip and bottom edge.

Trim excess fabric from top and bottom.


Finger press strips away, and top-stitch all the way around the edge of the chalkcloth.

Yay!  The top of your Chalkboard Mini Quilt is done!  Now let's work on getting it finished. 

Lay the wrong side of the finished quilt top on your scrap of batting, then lay this on the wrong side of the quilt backing, creating a "quilt sandwich".  Using your rotary cutter, cutting mat and acrylic ruler, cut the batting/backing 1/2" larger all the way around; set top aside but do not separate the batting and backing.

Quilt the backing and batting together.
Sometimes I like to draw a design on the fabric with a fabric pen, as seen here.
When the quilting is finished, replace the quilt top, wrong side down, on top of the batting making sure it is squared up with 1/2" batting on every side.

Fenway Frank decided to take a nap on the ironing board.  Hmmm...probably not the best place for a nap, eh, Frankie?

Now for the coolest binding method EVER
Non-continuous binding.  Say what?  Just take a look.  It's life changing.

Ready?  Here we go: 

Begin by ironing the length of the strips, wrong sides together.

Align raw edges of binding with raw edge of quilt top (you should see the 1/2" of extra batting sticking out) making sure you have an extra couple of inches hanging off the top edge.  Measure inside the quilt top 1/4" from each edge and make a mark on the binding.  
This will be your starting and stopping point.
ignore the first yellow mark, I made a mistake and measured 1/2"

Stitch the binding down, making sure to backstitch at both marks.

Flip the binding off to the side, creating a 45* angle.  Align the second binding strip with the edge of the quilt top, and binding tail; stitch in the same manner as before, making sure to stop and backstitch 1/4" from the edge of the quilt top.  


Again, flip the binding tail away from the quilt and repeat for remaining binding pieces.

Now for those perfect mitered corners.

Place your acrylic ruler on the binding and measure the distance between the fold and the seam line.
Mine was 1 1/2":

Divide that measurement in half (for me it was 3/4") and make a mark.  


From the mark, measure 3/4" straight up (towards the binding tails) and make another mark.  

Connect your second mark to each seam line:

Pin the bindings together on these marks.  Pull the binding away from the quilt and stitch directly on the lines, making sure to back stitch when starting and stopping.


Trim excess binding from stitched lines:

Turn corners out, using a chopstick or metal bodkin to poke corners out, tuck quilt corner in. Repeat for remaining corners.  When you're finished, press binding out, wrap around to the back of the quilt; press again.  Pin binding in place and stitch however you prefer.  I personally love hand stitching, but feel free to get it done whichever way makes you happiest!

You are finished!  Don't you love it?  Now go hang it up somewhere and start a grocery list or a daily happy note to your family.  Did I give you enough time to whip one up for Mother's Day?

Happy quilting!
-Kristi-