
.JPG) | ||
| designed for "Grace" by Anna Griffin |
Something really, really, REALLY cool has happened. My friend Kerry (aka KidGiddy) sent a round of introductions between me and Anna Griffin, thinking that we would be a good match for projects. Anna designs some of the most gorgeous textiles, paper etc this crafty fabric world has to offer, her fabric is so soft and lovely. I am honored and excited to say that I have been asked to be a part of her sewing team. Here's the cool part (aside from the whole darn thing, I mean) every month I'll receive a shipment of not only Anna Griffin, but also Blend fabric to play with. I get to create something inspiring and write a tutorial for all of you! Isn't that fabulous?
I received my first box, "Grace" and couldn't wait to get started. I knew immediately that the black floral was perfect for the project tote I had planned in my head. The hard part was choosing the accent pieces to go with it. I mean, just look at all this gorgeousness!

Somehow I managed to narrow it down, and now I am ready to show you how to make your own Seven Pocket Project Tote.

Supplies:
1/2 yard Canvas
1/2 yard Exterior Pocket
1/2 yard Lining
1/4 yard Interior Pocket
1/3 yard Straps
(or 1/2 yard of the same fabric for Straps/Interior Pocket-shown)
thread
**and the usual rotatry cutter, mat and ruler, sewing machine, scissors etc**

Cut the following:
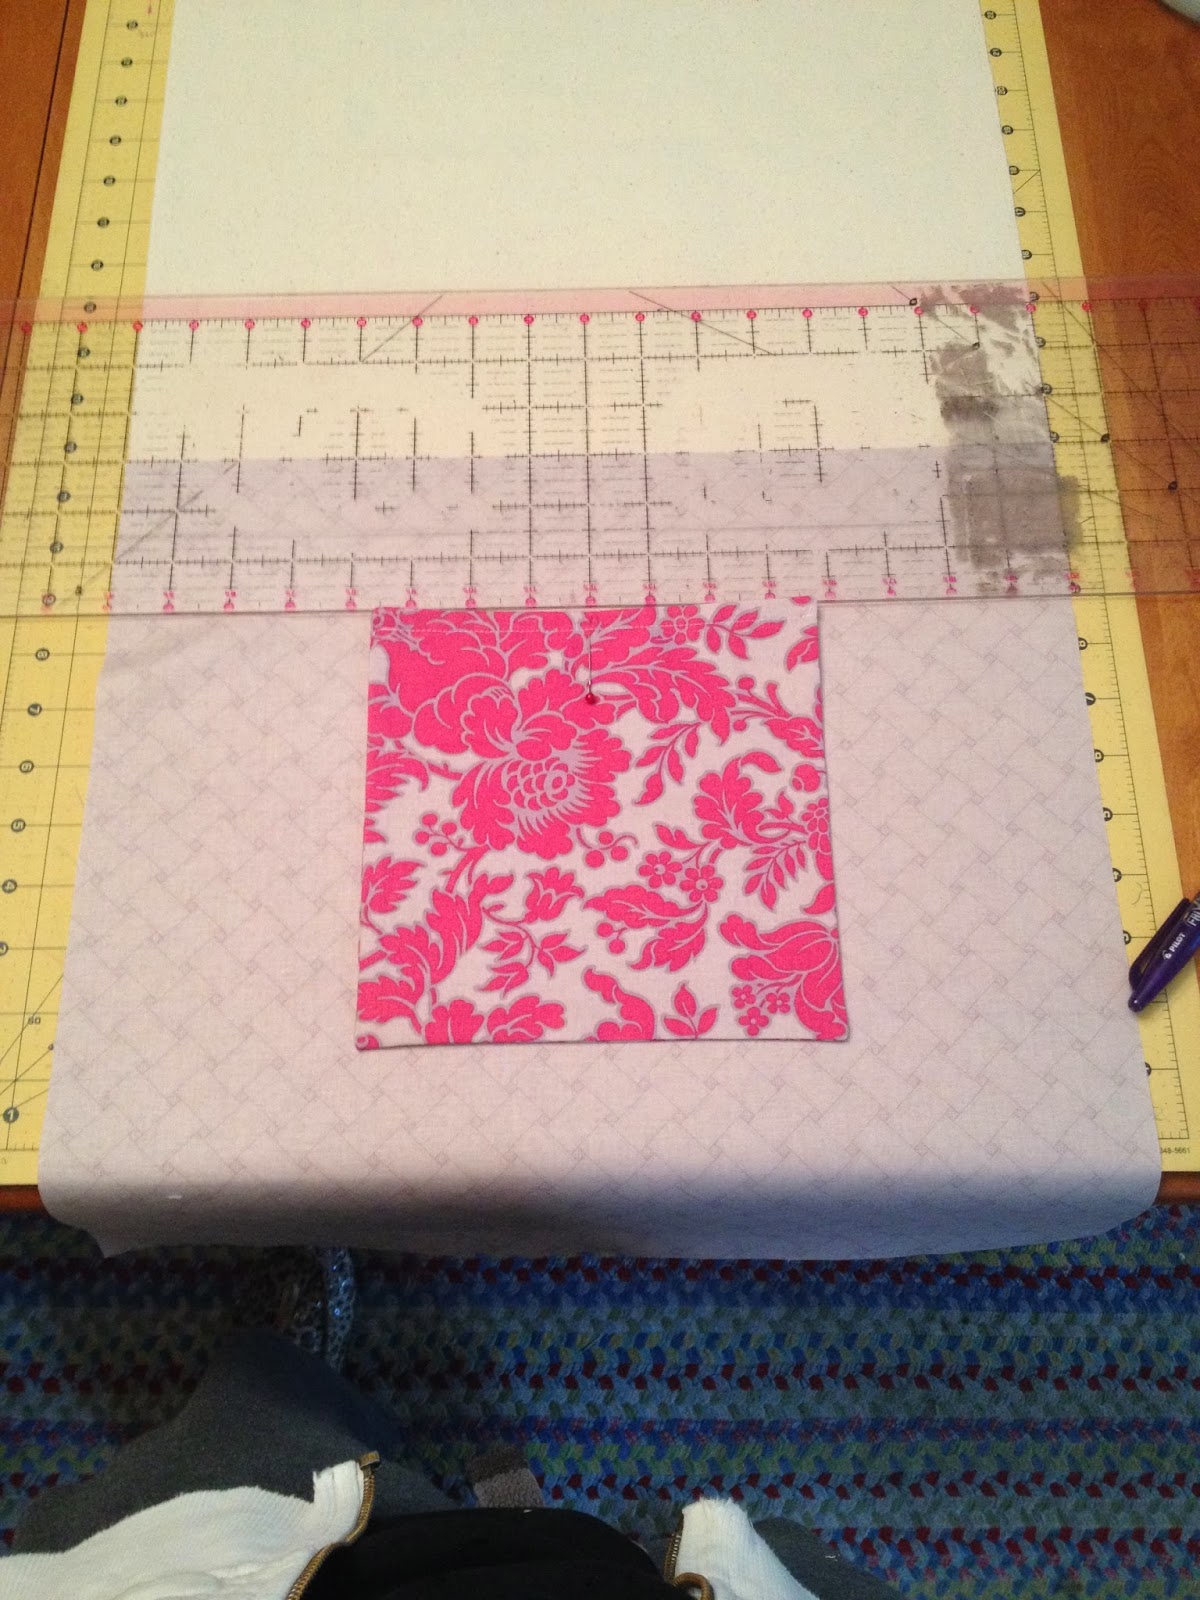
Canvas 13"x16", cut two
Exterior Pocket 19"x16", cut two
Lining 16"x16", cut two
Interior Pocket 8"x8", cut two
Straps 5"xWOF (width of fold), cut two
**Seam allowances are 1/4" unless otherwise noted**
To prepare the Exterior Pocket:
1. With wrong sides together, fold exterior pocket in half to measure 9 1/2"x16" and press; topstitch 1/4" from fold; set aside.

To prepare the Straps:
2. With wrong sides together, fold the length of the strap in half and press:


3. With right sides together, pin interior pocket pieces together, leaving a 3"-4" opening at the bottom for turning and stitch, be sure to backstitch at each end of the opening. (Backstitching will prevent tearing and/or widening the opening while turning.) Clip corners close to the seam, turn the pocket right side out and press; topstitch 1/4" from top edge. Make sure the opening is at the bottom of the Pocket!

4. Find the center of the pocket by folding in half and making a mark. Do the same to find the center of one of the lining pieces. Measure 3" down from top of lining, lay the wrong side of the pocket to the right side of the lining, having center marks matched.
Edgestitch sides and bottom of pocket:

To assemble the bag:
5. With right sides together, pin top of Lining to top of canvas; stitch.
Press seam towards lining, then with wrong sides together, match bottom edge of Lining to canvas and press. Open the Lining out and away from the canvas then topstitch the lining side of the seam.

6. Leaving the lining open as you did during topstitching, pin Exterior Pocket to bottom of canvas, having edges matched on bottom and sides; baste 1/8" from edges.

For the Handles:
7. Find the center of the bottom of the bag, make a mark. Measure and mark 2" out on either side of the center.


8. With right sides together, pin bag and lining together, leaving a 4"-6" opening on the lining for turning; stitch.

To make the boxed corners:
9. Starting the measurements at the seam line, draw a 1 1/2" square on all four corners.


10. Match the seams, pinning them open, and stitch.

11. Carefully turn the bag right side out, poking out the corners with a chopstick or unsharpened pencil. Pin the opening of the lining closed; edgestitch.

12. Push the lining to the inside of the bag and press. Pin the handle to the top of the bag, then topstitch all the way around.
 | ||||
| (I stitched an "X" on my handles, which you may want to do. It is not necessary, but it does give it a more professional finish.) |

-Kristi-
PS To make a Beach Tote, follow the same instructions, but cut your pieces to the following:
Exterior 16"x22" cut two
Medium-Weight Fusible Interfacing 16"x22"
(iron the interfacing to the exterior pieces)
Lining 18"x22"
Straps 5"x63" cut two
(or cut 6 at 5"x21", sew three pieces together for each strap)
Interior Pocket 10 3/4"x8"

Congrats!! And great tutorial, I'll be making a beach tote!!!
ReplyDeleteThank you! I hope you upload your tote pictures to the Flickr group, I would LOVE to see what you make!
DeleteCute. Neat idea. VeryUseful.
ReplyDeleteKristi! It's wonderful. Thank you so much. We are very happy to be working with you.
ReplyDeleteKristi! It's wonderful. Thank you so much. We are happy to be working with you.
ReplyDeleteGorgeous! I can't wait to try this project!!!
ReplyDeleteGreat tote, and great fabric! Anna and Blend were smart to choose you!
ReplyDeleteCould regular quilting cotton strengthened with Pellon 808 or the like be used in place of canvas, or would it not be sturdy enough? What about quilted panels?
ReplyDelete