
.JPG) |
| *exterior, side and interior of the bag* |
My sister is always doing really nice things for me and Roo, so I decided to make her a new tote bag as a thank you. It ended up being timed just right because the day after I finished it, she wound up having emergency gallbladder removal surgery, can you believe that? So, Mom and I stuffed it full of goodies (magazines, new cozy socks, candy, a travel coffee mug and a notebook) and brought it up to the hospital with us. She loved it! I was pretty excited when she said "It looks just like a paper grocery bag, except it's fabric!" because that is exactly what I was going for. Yay!
How about a little tutorial on how to make one for yourself? Yes? Alrighty then...here we go!

Gather your supplies:
1/2 yard Exterior Fabric (tan Kona cotton)
1/2 yard Lining (red gingham)
1/2 yard Accent for exterior strip and interior pocket (cupcakes)
1/2 yard Fusible Fleece

From the Exterior cut:
One Bag Bottom 7 1/2" x 26"
One Bag Top 6" x 26"
Two Handles 4" x 19"
From the Lining cut:
One Main Piece 14" x 26"
From the Accent cut:
Exterior Strip 3"x 26"
Pocket 7" x 9"
From the Fusible Fleece cut:
One Main Piece 15" x 26"
**Seam Allowance is 1/4" unless otherwise noted**
Let's get started, shall we?
1. Fold Pocket in half, so that it measures 4 1/2" x 7"; pin edges making sure to leave a 2" opening for turning and stitch.


2. Trim corners; turn right side out and press; topstitch 1/4" from folded edge.
(not the side with the opening)


3. Find the centers of the pocket and lining by folding in half and marking. Measure 2" down on lining, and pin pocket in place, matching centers; edge stitch 1/8". Fuse fleece to lining (not pictured) and set aside.


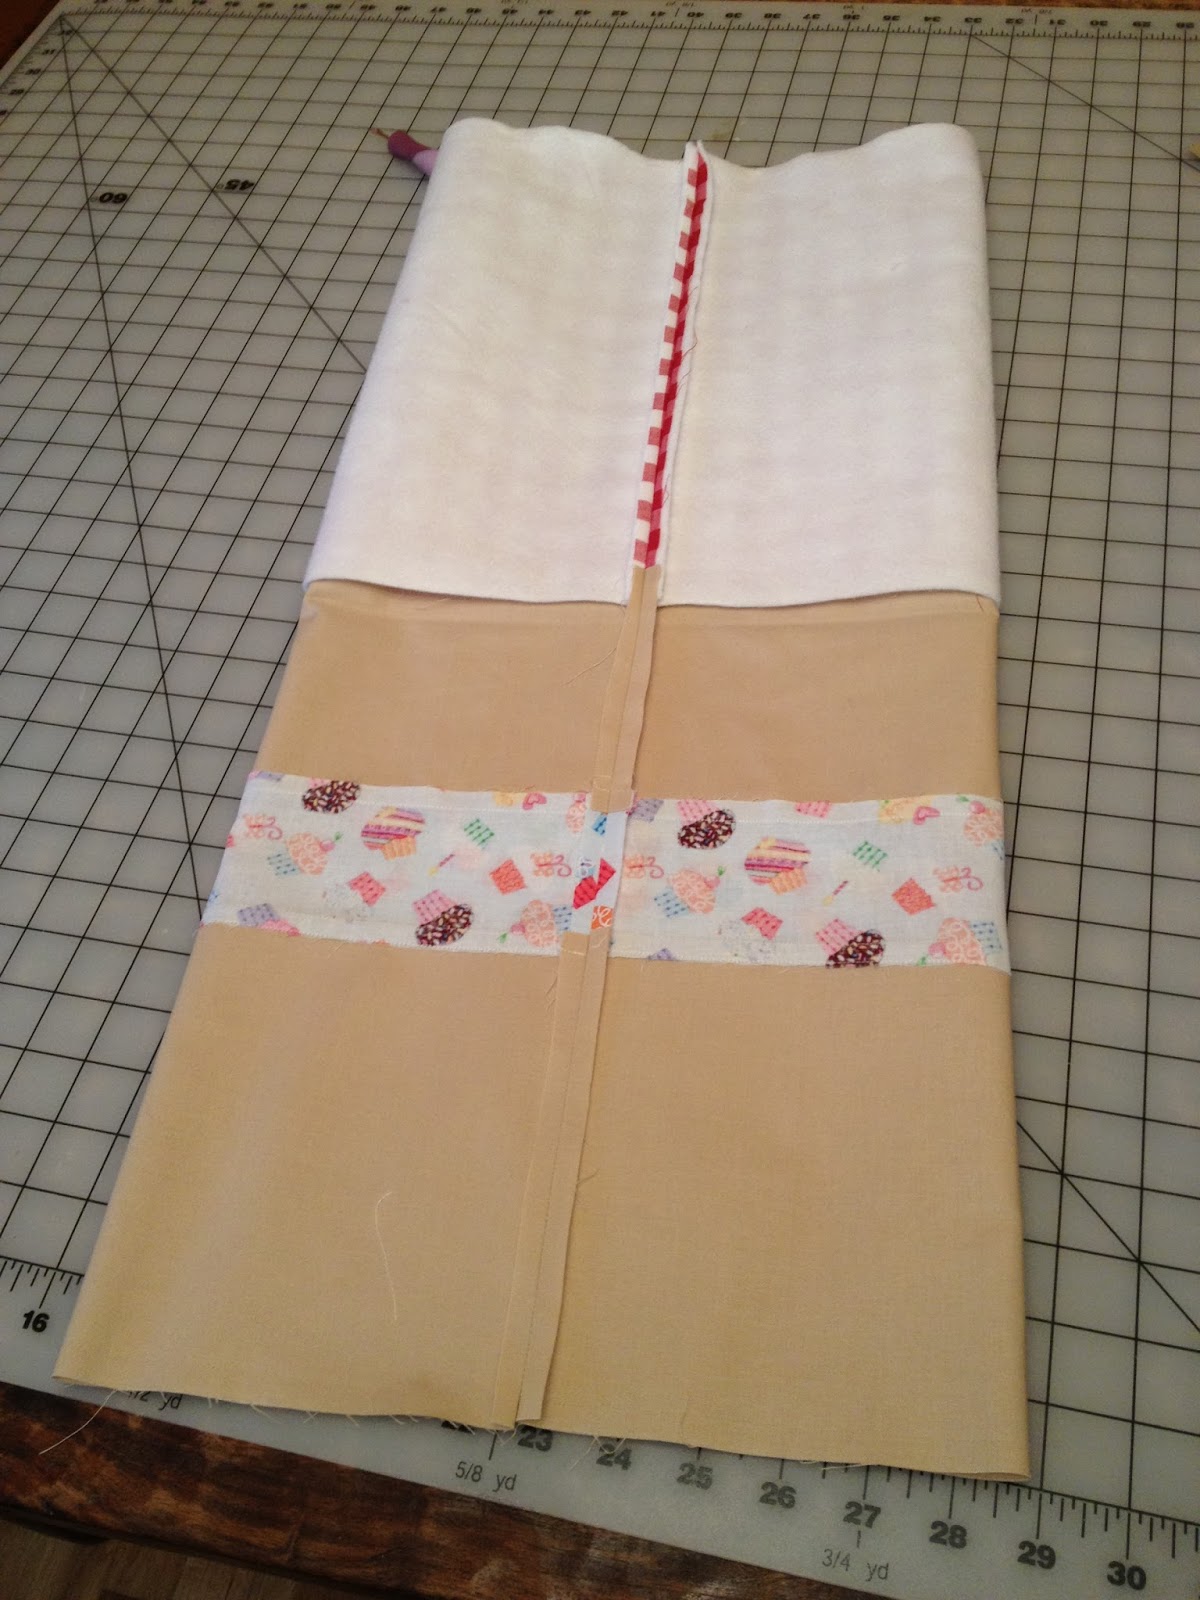
4. With right sides together, stitch exterior strip to bag bottom; press seam toward bag. Repeat for bag top to remaining side of accent strip.


 | ||||
| **ignore the pins at the top and bottom of bag, ONLY pin and sew the side at this stage** |
9. Match center of seam to center of folded edge of bag; press seam open; pin top and bottom of bag and stitch leaving 3"-4" gap in the lining for turning.


12. Match center of fold to center of seam and pin.


14. Carefully turn the bag right side out through the opening in the lining and press. Stitch opening closed by hand (not pictured); topstitch 1/2" from finished edge.

15. For the handles, fold each handle in half lengthwise and press.

16. Fold one raw edge to center and press.

17. Repeat for the other side.

18. Refold at the center and edgestitch 1/8" from double fold side first (this helps prevent twisting and bunching when stitching) and then edgestitch single fold side.


19. Measure and mark 2 1/2" from center back seam on each side; place center of the right side of handle edge about 1 1/2" down from finished edge on this mark. Measure 1/2" down from the handle's raw edge (or 2" from finished edge of bag) and fold handle up towards top of bag (this process makes sure that the rough edge of the handle is hidden). Pin in place and repeat for the other end. Repeat process for front of bag.

20. Stitch a square with an "X" in it at the handle's edge (not pictured). This will ensure the security of the handles.

That's it! Please come back and let me know what you think of your finished bags. You can even upload a picture to the schnitzel & boo Flickr group, I would LOVE that!
Happy Sewing!
-Kristi-
What a great bag! I think I'll give it a go. I'll post a picture.:-)
ReplyDeleteThanks! I can't wait to see your version!
Delete