

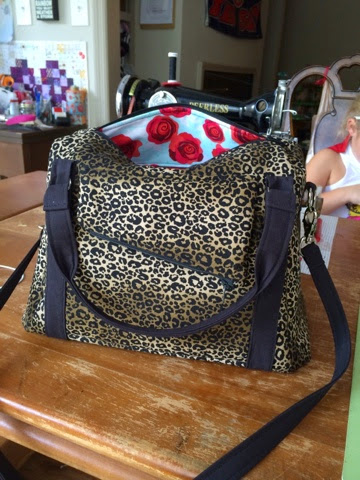
I'm a little behind on my Blend Fabrics tutorials, so I thought I'd play catch up on them as soon as I finished testing the Rockstar Bag pattern by Sew Sweetness:
Well, I wrapped that up today and immediately got to work on a 30 minute project; a tutorial for Blend!
When they sent me my shipment of Clementine by Ana Davis, I immediately thought "kitchen project!" At the time, though, we had just moved into our apartment and I wasn't ready to determine what I was going to want or need in my kitchen. All of our belongings are still in storage and we're basically living with borrowed and/or Dollar Store necessities to get us by until we get it back.
Well, one day, while walking past the kitchen towel display at Target, I had an epiphany. Dish towels! That's it! I would turn my stack of Clementine into dish towels! So, I grabbed a package of flour sack towels and went on my merry way.

I love these towels in particular because they are large, absorbent and thin. Plus, a pack of four is less than five bucks. Perfect!

Because there are four towels and a big beautiful stack of fabrics, I thought I'd split the package deal up and give you three mini tutorials throughout the week. By the time you're done, you'll have the perfect house warming gift! (Or Christmas, or New Year's or wedding present or whatever.) I'll have one towel left over, won't I? Well you know what that means! Giveaway! I'll do a giveaway at the end for the extra towel and the remaining scraps/fabric. That's a good plan, huh?
First things first, you will need a towel, 1/3-1/2 yard (depending on the accuracy of the cut) quilters cotton weight fabric, thread etc etc.
Iron the towel, making sure to straighten the edges as best you can.
 {towel pictured folded in half}


 {I borrowed this picture from tomorrow's tutorial}
 {center crease}

 {I drew a red line on the center crease to make this step easier to see.)
 {this is what your finished binding should look like}


 {hopefully that helped!}


Measure the sides of your towel:
My towel was about 30"x32". Now you have to do a little math. 30"x2 sides=60". 32"x2 sides=64". 60"+64"=124" total. Now, divide your total by the fabric width: 44" goes into 124" approximately 2.8 times, which is basically three times. Now I know I have to cut three strips.
Next, measure the existing hem on your towel. For mine, it was about 3/4".
I wanted to make sure I covered the existing hem completely so I rounded this measurement up to 1" and multiplied by four which gave me 4".
Remove the tags on the towel, if necessary. Set towel aside while you make the binding.
Stitch your binding end-to-end-to-end; press seams open.
Fold the binding in half lengthwise, wrong sides together and press.
Fold one long edge to center, wrong sides together, and press.
Fold the other long edge about 1/8" away from center; press.
Fold again on the center crease and press. I like to use lots of steam to make it extra crisp.
Lay the binding on the table so that the wider side is on the bottom and the narrower side is face up. Open up the binding and lay the edge of the towel right up into the crease. Make sure you get it tucked in there all the way!
Carefully fold the binding over the towel edge and pin. When you get to a corner, pin (or pinch with your fingers) the binding right at the edge of the towel. With your opposite hand, open the binding and fold it back over the new edge of the towel. This step is kind of hard to explain so I took some pictures, of course:
Continue pinning and corner-folding until you get to the last little bit. Now, you can do this before you start pinning the binding on or you can do his next step now, before you have finished pinning...
When you have about 8"-10" of binding left, unfold the end and turn one corner down about 1/8" from folded edge and press.
It should look similar to this:
You might have to rearrange your pinning, this angled edge will go over the top of the end of the binding, creating a finished edge. When it's done correctly, it'll look like this:
Now, stitch the binding down, all the way around, about 1/8" from edge of binding.
There's no need to backstitch if you don't want. When you get around to the starting point, just run over your existing stitches by five or six stitches to secure your stitching. (Should I say stitch, stitching or stitches one more time before continuing? Stitch! Hahaha)
Now, give the binding one last final press to set the stitches (HAHAHAHAAAA) and you're all done! Fast and easy.
{this is also a good technique for adding premade binding to one yard lengths of flannel or fleece for a quick baby or pet blanket}
Come back tomorrow, I'll be showing you how to make a triple ruffled towel. I bet you can't wait!
Happy sewing!
-Kristi-


